Acryl and Meshx Author: faceless105 -- Posted: 2007-10-03
Some of the most common types of computer mods involve putting in windows and adding vents for your fans. It's actually a bit surprising when you come across an in-box mod that doesn't have a window. This is why today I'm very happy to bring you a review of AcrylPanel and MeshxPanel by A. C. Ryan.
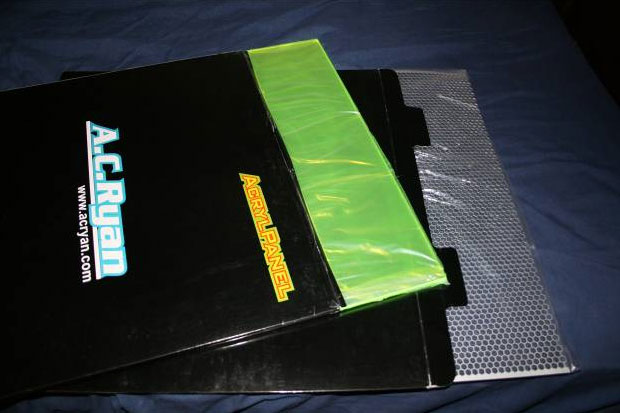
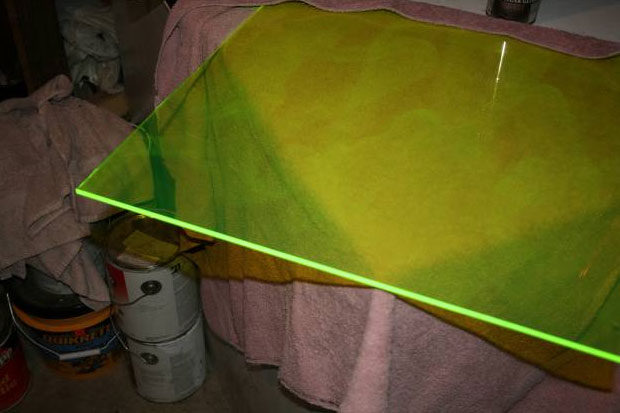
My first impressions.. "wow this stuff looks nice", followed by, "I can't wait to show this off in a mod". That's a bit of my inner modder reaching out, lol. But seriously this stuff looks great. The AcrylPanel is very solid. I have the 3mm thick stuff and I can't imagine how I'd work on it with the 5mm think. My mods in the past have involved 1/8" plexi and that's roughly half the thickness. The first thing I also noticed about this was how well it caught the light. It's UV reactive and you can see it just under normal lighting, the edges really light up.
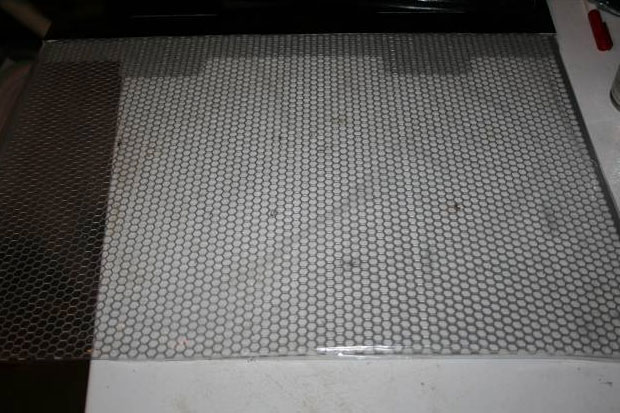
Now MeshxPanel is very nice looking as well. It's not nearly as thick as the AcrylPanel which is a good thing because that'd make it pretty difficult to work with. I have the honeycomb pattern. There are also a number of other patterns listed on the site. When you get mesh you usually need to order the pattern type based on what your working with. The smaller the holes the less air they'll let through so while one mesh might be great for styling your computer a bit, another might be far better to use for ventilation.
I figure the best way to review these would be to walk you through some steps of a mod. I'll keep this very short as it isn't a worklog but I will focus more on the usage of the materials.
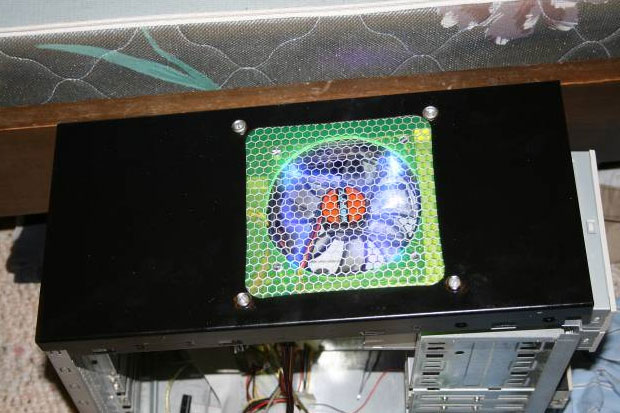
For a teaser this is the end result. In my opinion this looks excellent. I think everything really flows together very well.
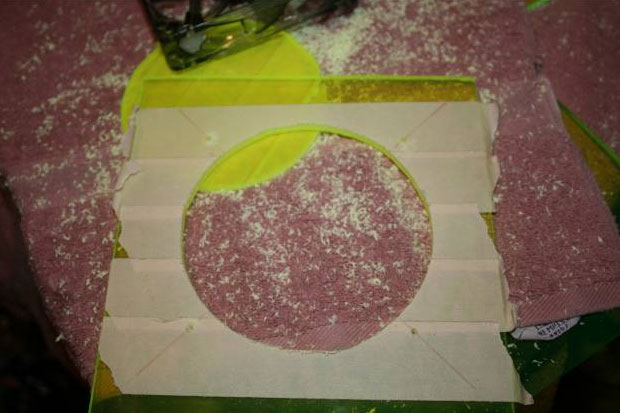
To prepare the plexi first you need to measure the area you'll be cutting. In a mod like this it has to be larger then the window and much larger then the fan. Most of the time while working on material like this I've used the score and break method, but this stuff is thick enough that I wasn't to sure that would be effective. So I reach for my dremel. If you have the little circular saw attachment, that works beautifully for cuts like these. Once that's done we can make the cut for the fan. To cut this I think most people would reach for a hole saw but since I don't have one and at those sizes they get a little pricey I turn to my dremel again. One very convent tool I've used before works like a compass. Once you drill your center hole you can use it to cut out a circle. Now on a quick note, while cutting this stuff I'd recommend safety glasses and working in a well ventilated area of wearing a breathing mask. Cutting plastic will put some fumes out in the air. And cutting anything will throw little bits of itself in the air. These I imagine would be fairly painful if they got into your eyes. At the same time, this really isn't something that you want to be breathing in.
Taping your cuts is always a great idea. This will give you a cleaner cut and if you jump the blade then there's a good chance that it'll only mess up the tape. To finish the circle I just sanded the center a bit. This is something you'll probably need to do regardless of how you cut it just to keep the cut looking smooth.
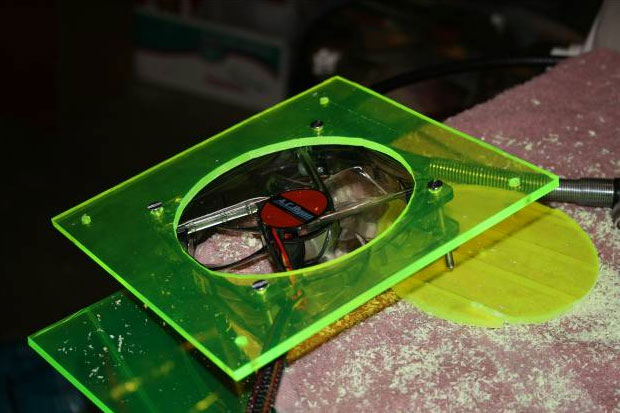
Now you need to drill the fan mounts. To do this I just aligned the fan over the hole and drilled straight down with it in place. After each hole I fastened it fan in there to guarantee that all the holes would be aligned incase the fan slipped and slid a little.
Now that the AcrylPanel has been prepared, all that's left is to cut the mesh. This is actually incredibly easy. Now I don't give this an exact science and if you're doing a mod that can afford that, all I did was place the AcrylPanel over the mesh and quickly trace the outline over it with a marker. To cut the mesh all that you need to do is get a pair of metal snips and cut on the line.
The reason that I chose a mod like this was because the mesh lets you hide the screws for the fan so well. It also protects your fan from anything getting stuck in there while giving great air flow. This is something that looks great below decorative fan grills as well and will keep anything from getting in there.
After taking some time to do some work with the MeshxPanel and the AcrylPanel I have to say that these are great supplies for any modder out there. The AcrylPanel looks amazing and really catches the light. It is also very sturdy and I wouldn't worry about mounting anything to heavy in it. The MesxPanel also looks great and is incredibly simple to work with. If you looking to do any mods to your rig then I'd definitely recommend checking out these supplies. I'd also like to give a big thanks to A. C. Ryan for giving me the opportunity to review these supplies.
I'd also love to hear if anyone has any questions or comments for me :)